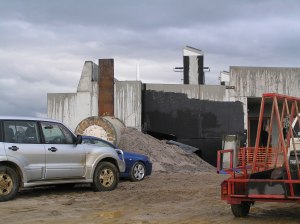
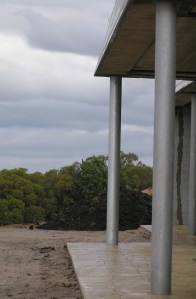
This weekend took me up a mountain to see a house build into a mountain. The full submersion of the roof appears to have not been completed and the owners were yet to move in, but the pizza oven was fired up and people came to admire, more than anything the views at the top of the rather slippery drive way. It gave me a sense of what this design which, I have admired for many years actually feels like. Away from the screen of Grand Designs I was surprised by how claustrophobic the back rooms felt, despite sky lights and if money permitted would have gone with a wrap around and more frontal aspects. However such great admiration for this couple who have spent the last 25 years planning and are now living their dream.
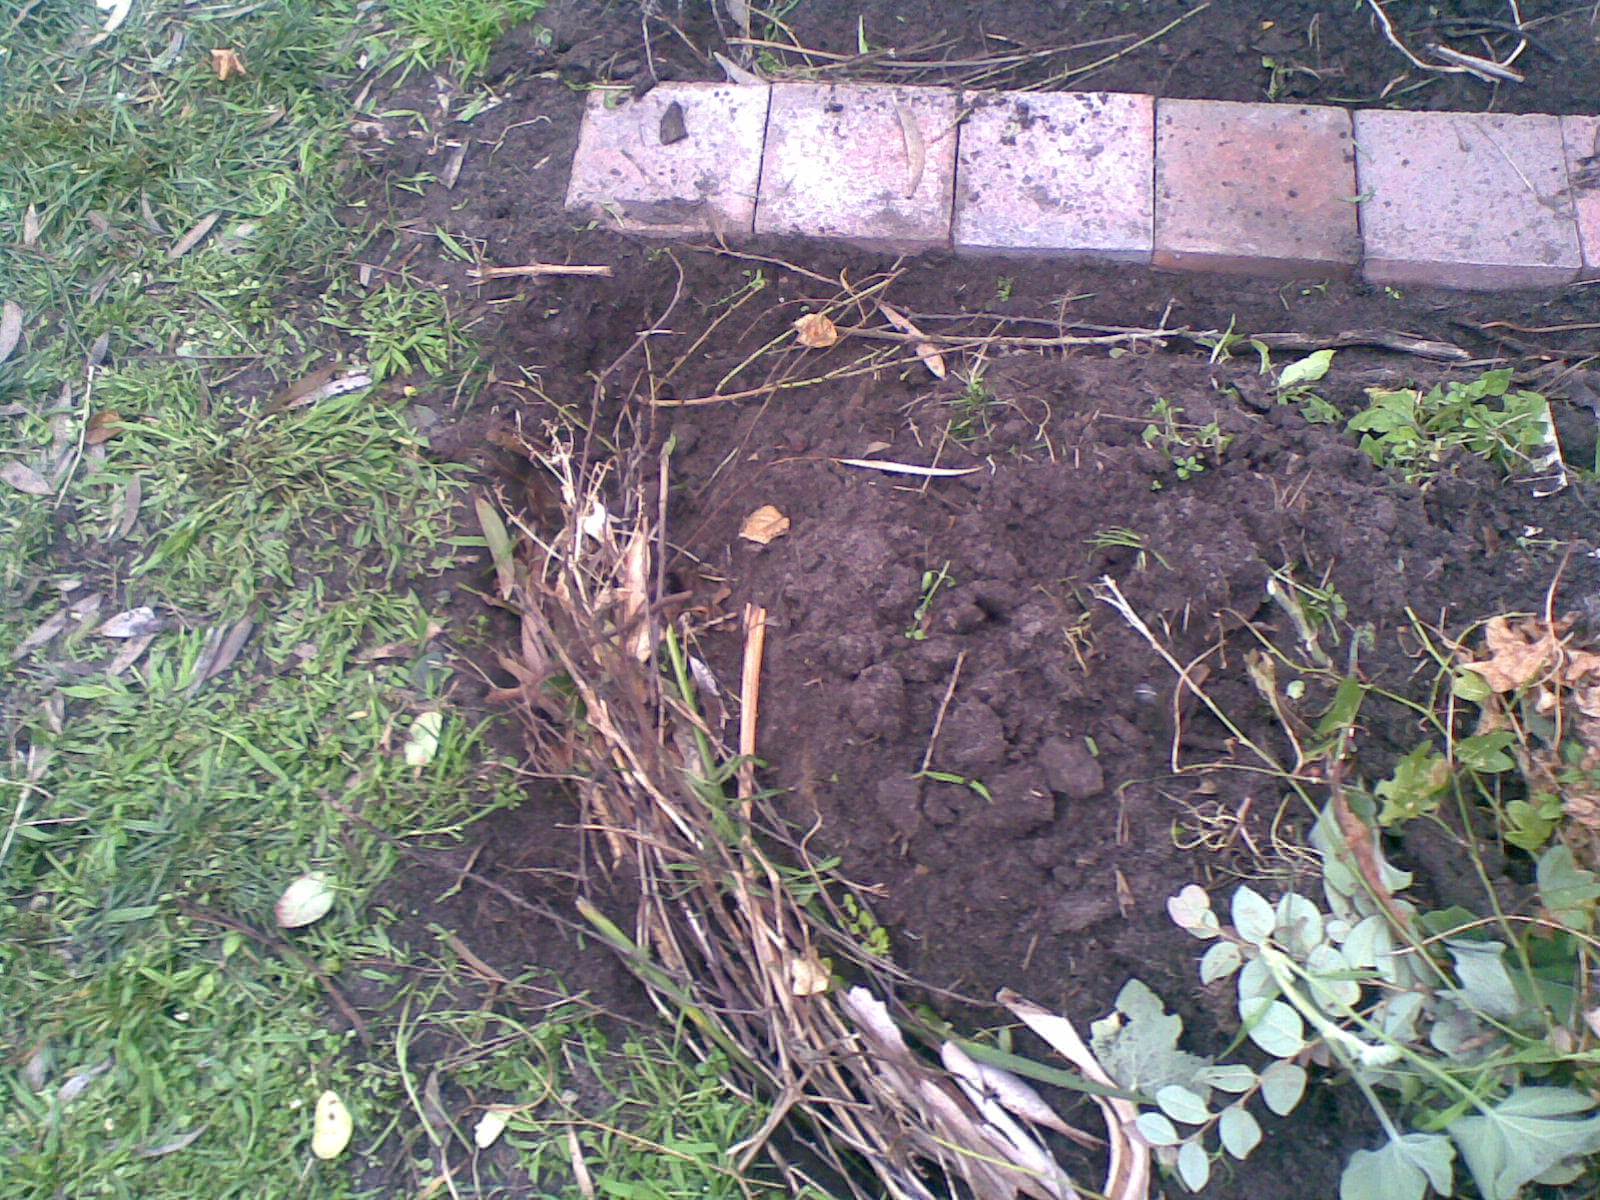
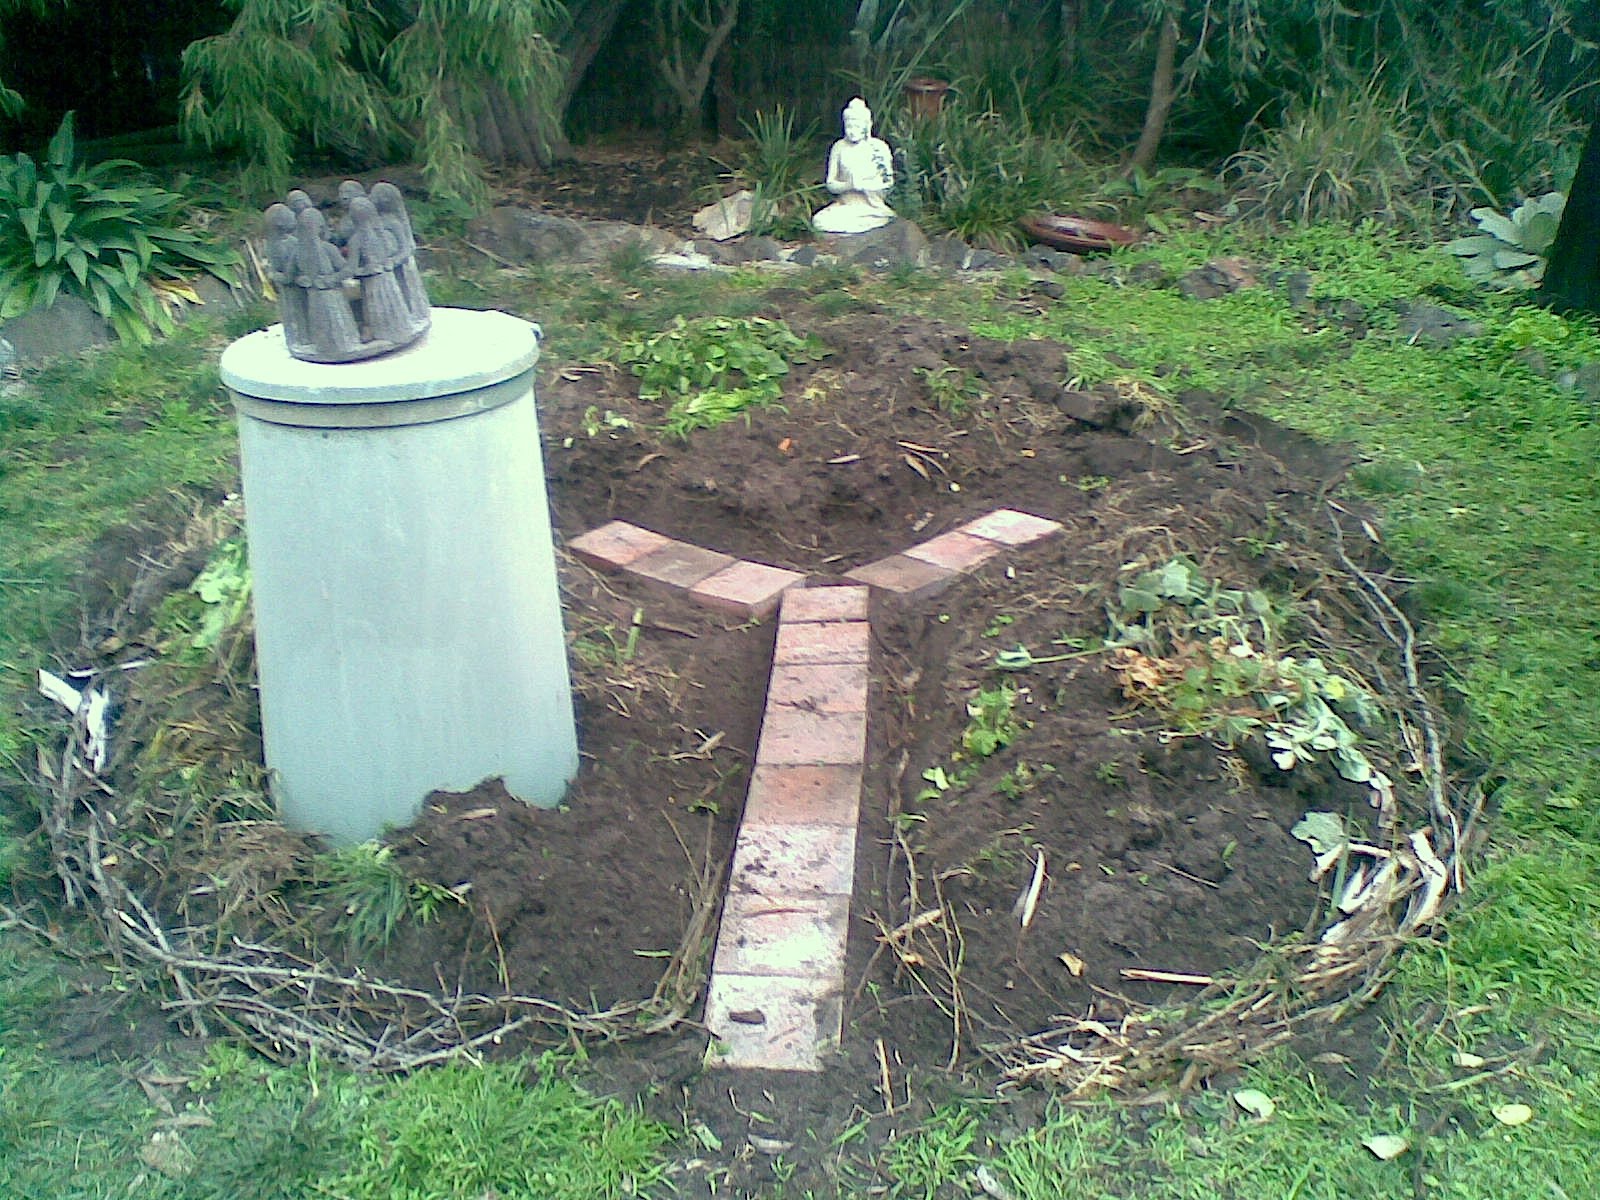
Well a weekend of no rain – meant getting the roses pruned and also finishing off preparations for the front key hole garden! I am determined to have produce in it by spring and the soil from the compost and piling cutting is looking great! After seeing the food forest at Southern Cross Permaculture Institute I got thinking about natural edging methods. Listening to Rick speak about the food source created by dead trees and hard cuttings I have decided to use ALL of the woody prunings that have piled up in the back garden as an edge. I am also going to use this method for the back keyhole garden also. So to make this work – I have edged the boundaries to make a ditch and cut the prunings into lengths to be stacked continuously around the circle and also around the edge of the ‘keyhole’ beside the pavers. This provides a use for a huge amount of waste – which would otherwise end up on the nature strip and will hopefully house helpful insects and healthy bacterias. I am yet to discover how well it will keep the weeds away – but if it is thickly stacked enough with plenty of small mixed in with large cuttings – hopefully it will work well. It will also work as a water catching mote when it rains! I am rather thrilled with this as I haven’t seen it anywhere else – but like all good ideas – probably it has been done before ! Most of all it just looks lovely – like a big nest in the middle of my garden waiting for life!
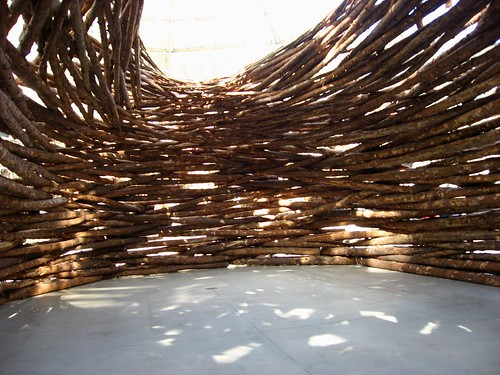
This brings to mind on of my favorite artists – Andy Goldsworthy and his use of ‘nesting’ spaces:
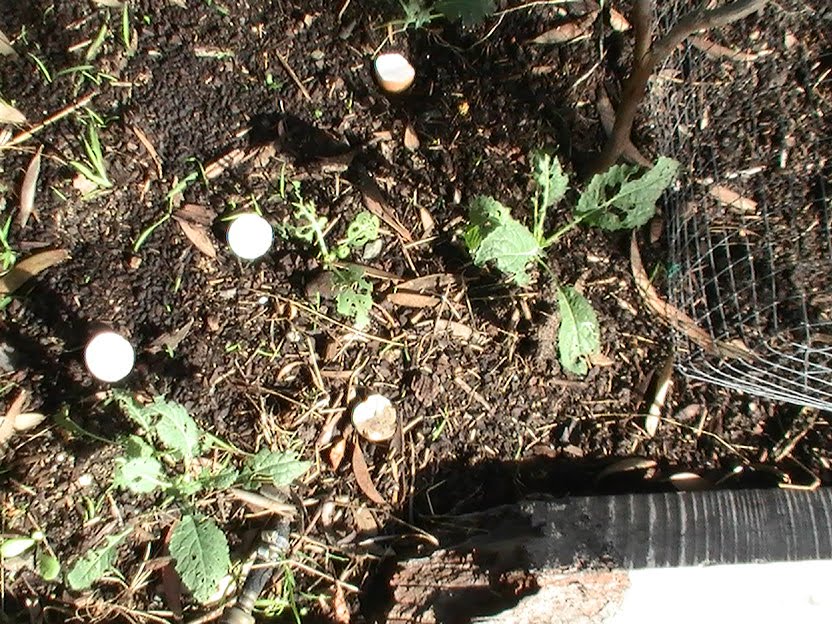
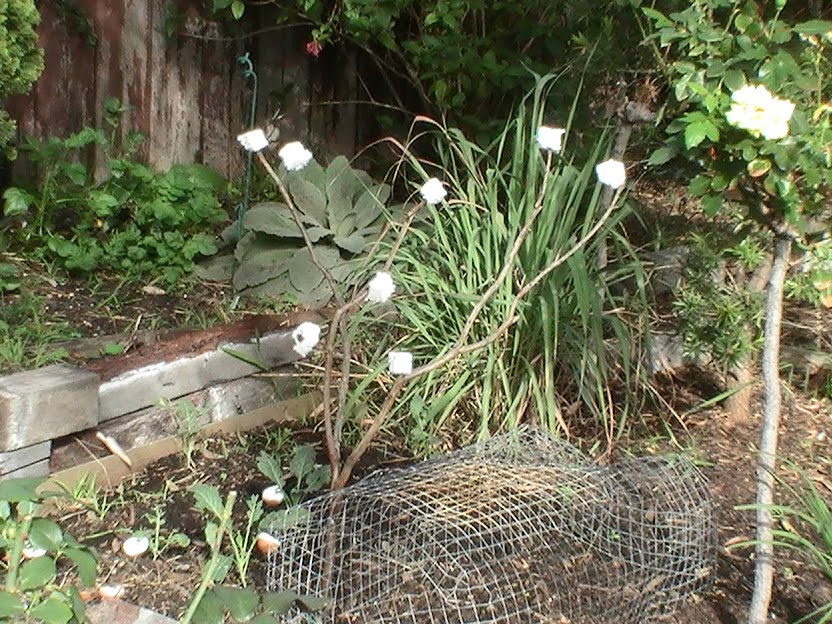
Recently at BAAG (Buleen Art and Garden) I learnt that if you tie white plastic bags to sticks the cabbage butterfly take it for another butterfly and will leave the area alone as they are territorial. Mimi has adopted this method with open egg shells which I have implemented. Then yesterday walking the dog – I noticed that a large piece of polystyrene foam had blown up on my front garden. I put it straight in the bin and continued on my walk. Just a few paces in – I thought about how very white the foam was. Perfect for deterring cabbage butterflies – further down the walk I came across a lovely branch and decided it would make a perfect polystyrene tree. So with the tree and egg shells in place hopefully the catter-pillers will be kept at bay. This morning was the first morning that I have gone out and not had to pick any off the kale seedlings!
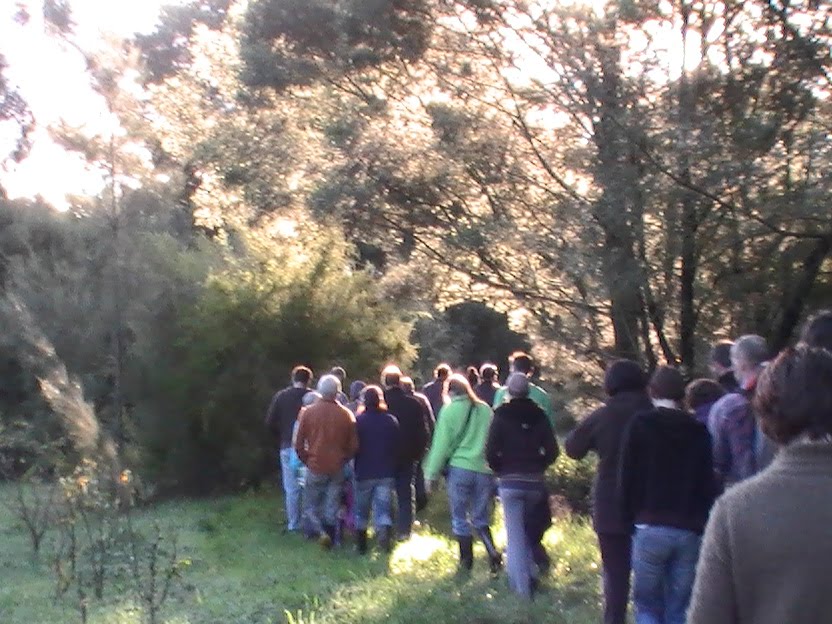
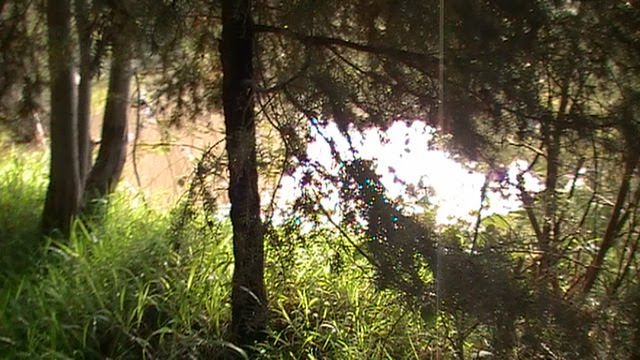
Queens Birthday weekend was spent at the Souther Cross Permaculture Institute taking the tour with Rick. It was fairly overwhelming to stand on the land – knowing that it had been flat grazing land just 16 or so years ago and that every tree planted had been done so by Rick and Naomi. The use of water as a Sun Catcher was the most impressive element that I came away with and have since been paying more attention to the reflection of water in even small things around the garden like bird baths. Photos and video to come!
A visit on the weekend to the Ashwood Permaculture Project Garden highlighted once again the many variations of what a Permaculture garden is.
With an emphasis on education and community – this property has evolved from an empty block to a food bowl and outdoor class room for the high school and local volunteers.
Because it is a vision for a community – the design is fluid. A series of mandalas have been established and the choock are rotated around this living mandala. A series of swales has been established, as it is quite a sloped block, in the form of dug in bath tubs.
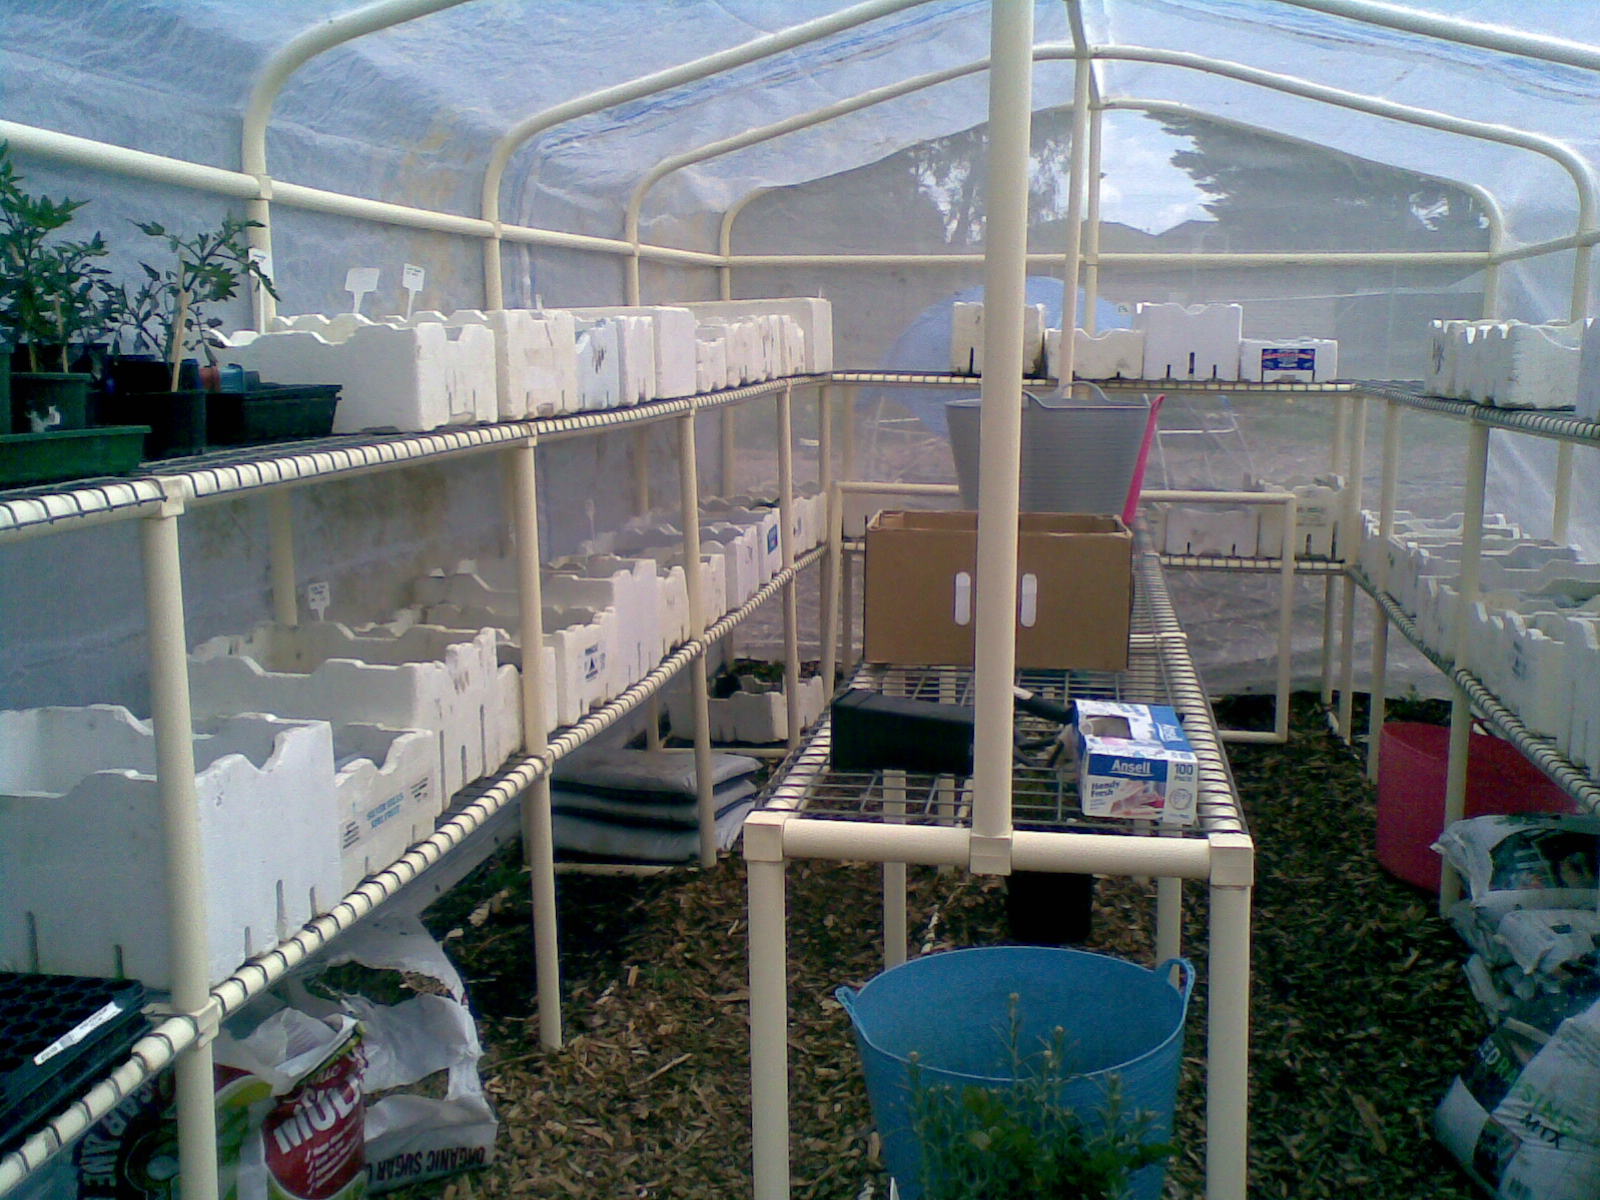
I found the hot house the most impressive aspect. With a very well organised array of seedlings – herbs and edibles – which we chose from to plant out one of the circles on the block.
It was completely different to the two rural permaculture properties I have seen and showed me again how the principles can be taken on and interpreted by an individual to suit their vision.
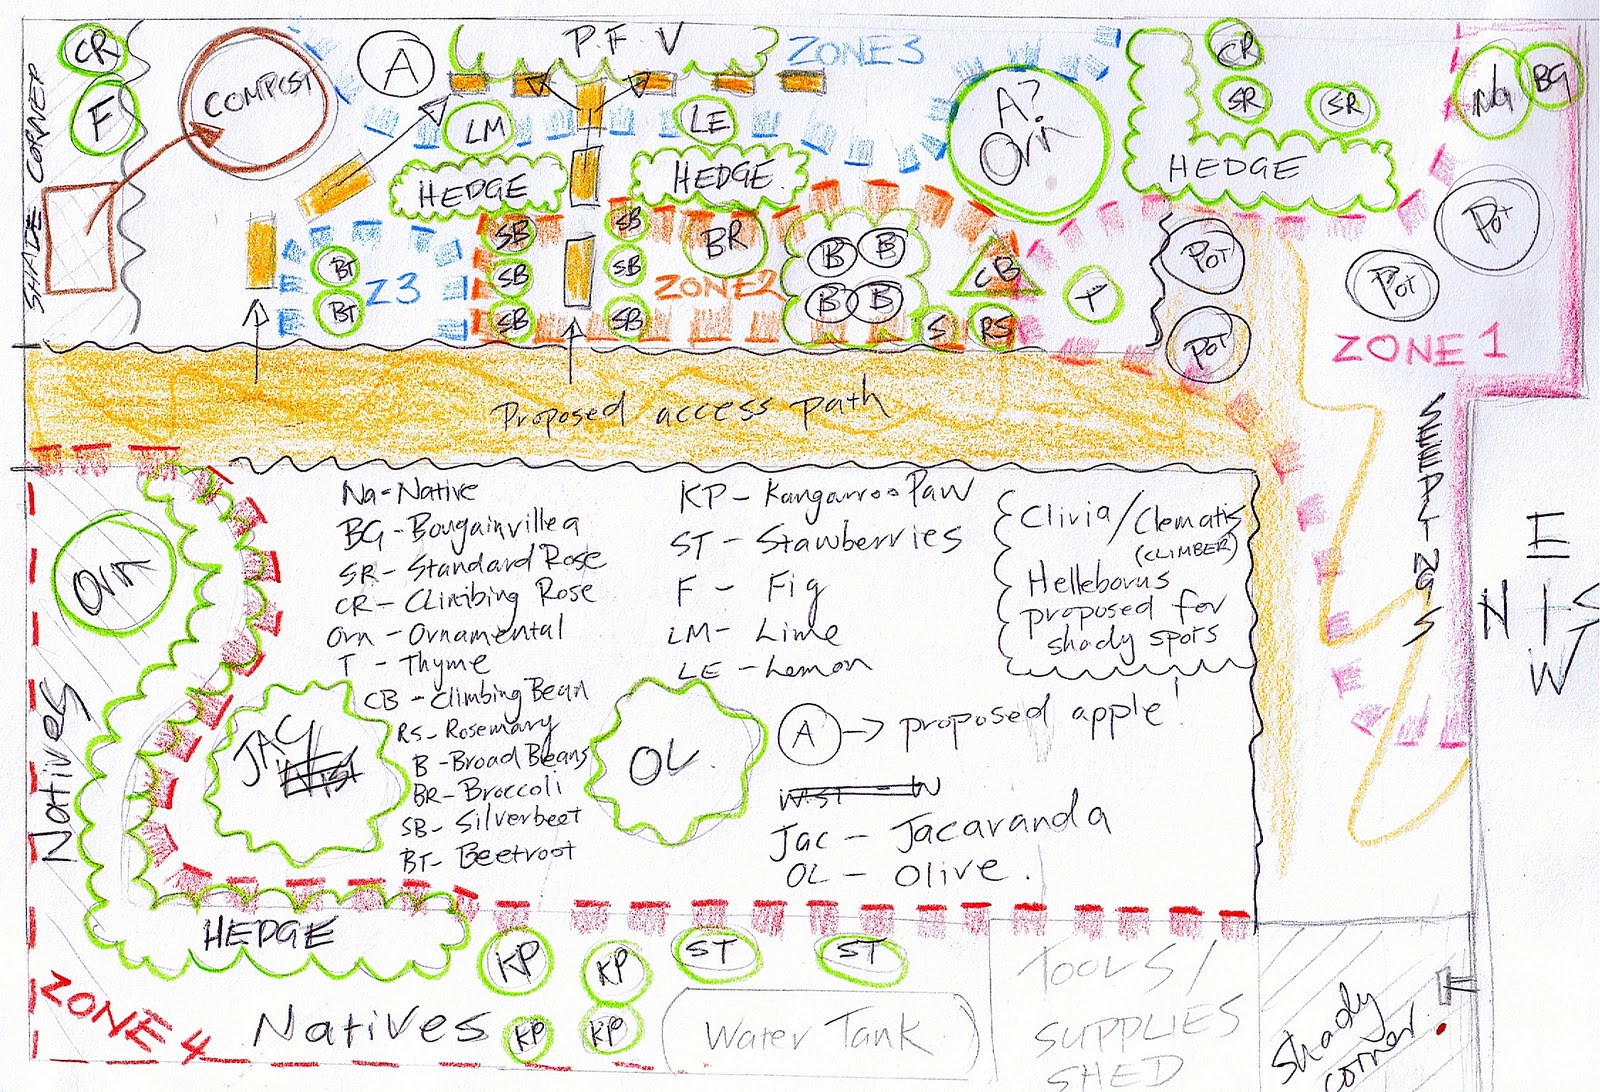
Zone 3: Slow Growing Annual root veg /perennial fruit / Veg
Rhubarb/Asparagus Tomatoes (Zone 2 or 3) Cucumber Zuchinni Eggplant Silverbeet Corn (plant several in close proximity for cross pollination)
Beetroot Parsnip
Potatoes Garlic Leeks Onions Turnip
Zone 4 Ornamentals/Natives
COMPOST TIPS Compost Bin – Back Slightly Sunnier Spot Infront of Fig (where bin was) – is now a space for drying cuttings (before adding to compost) Remember 1:1 Ratio Wet:Dry Wet = veg/fruit scraps Dry = Clippings – no bigger than tips of branches + dry leaves / dry grass clippings / dry hedge trimmings (place clippings beside the bin for a couple of weeks (or days in Summer) to dry before adding to the compost – unless autumn leaves – they can go straight in. No root balls (too woody) and no big branches Newspaper (scrunched up) is an alternative when no clippings/leaves are available Dry has been the missing ingredient (it is like a sandwhich where the dry layer provides aeration for the breakdown of the wet)
SOIL HEALTH
Air in the soil (like in the compost was the missing ingredient) The way to create aerated soil is to layer compost – with mulch and manure (3-6 alternate layers) ending with a mulch of either whole (not crushed) sheep manure/lucerne or sugar cane mulch. I have dug in the compost to begin with as it was not well broken down (but well enough – you will find some egg shells about which take the longest – but are a good source of calcium). On top of this was placed crushed sheep manure, organic pellet form (slow release) fertiliser, blood and bone, sugar cane mulch followed by whole sheep manure (again slow release). You can not plant seeds in this ‘no dig’ style soil structure yet. If you want to plant straight from seed then make a small whole and fill it with seed raising mix (or grainier soil from deeper below once the layers have broken down), otherwise plant seedlings straight through the layers.
An initial planting of legumes would be great for the new areas (Zone 3 – where the tomatoes are planned) you allow them to get almost to full season (just seeding/flowering) or just before and then cut them (with a dutch hoe for example) and dig them into the soil. This can also be done at the end of the season – before planting the next crop. Never plant tomatoes in the same spot two seasons in a row (a bacteria infection tends to occur)… try crop rotating root veg with leafy veg the following season and continue to alternative in this way each year.
Strong smelling herbs – garlic chives/peppermint varieties are great around veggie crops and also your roses to stop disease and pests.
Comfrey/Yarrow around the fig would be ideal – the tap root of the comfrey brings valuable nutrients up to the surface and both can be added to the compost to aid break – down. Stinging nettle – if you can stand it is also great for this.
Nasturtium / Peppermint Pelargonium are non-inavisve ground cover ( and great weed control) as are strawberries.
Hedging can be achieved with edibles such as blue berries (mulch well and water often) if you want an alternative to the box hedge.
I would consider planting another passionfruit vine to support the one already in – and buy an organic beef liver from the butcher and dig it in – just below the root ball. Passionfruit need plenty of nutrients and this is an old and tested method (again only if it sits OK with you!)
I would think about cutting the lawn (1/2 meter circumference) around the Wisteria and Olive to allow watering and feeding of the soil above the root zone. You could also consider planting some edibles around the drip line such as Artichokes. Artichokes would also look very uniform (and are Perennial) for the front under the weeping ornamental where the pumpkins are planned.
In the shady cornersClivia/Clematis/hellebores would all work as well.
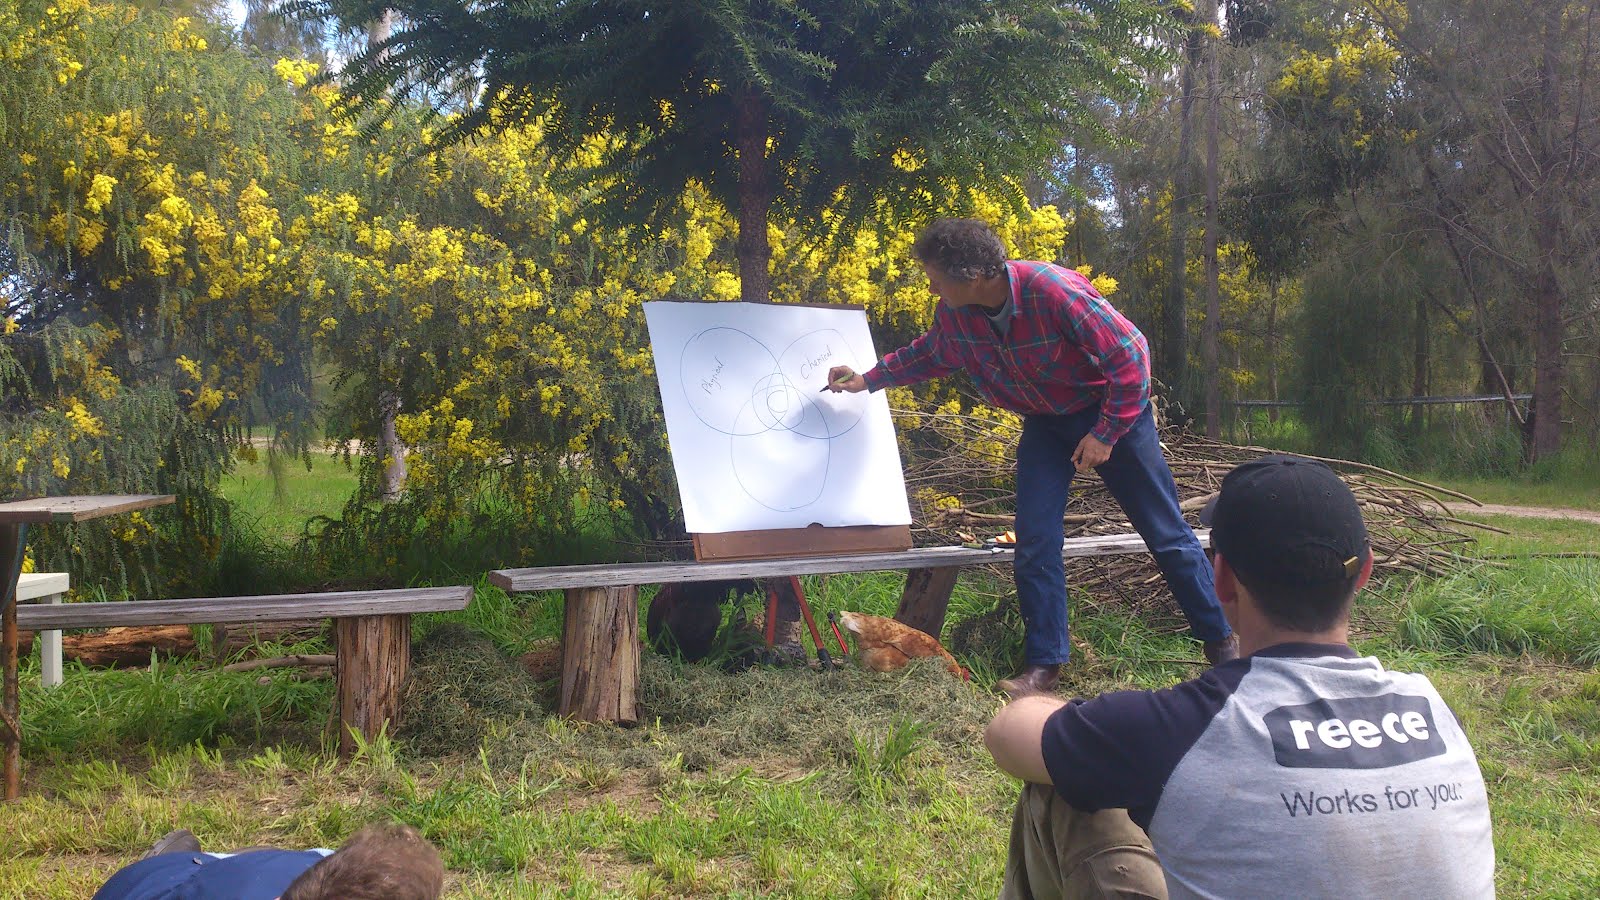
Recently I came across the DVD “Reconnecting to Nature though Spiritual Permaculture”. It documents a conference in Hawaii whose guest speaker was Dr Leonid Sharashkin, translator of Anastasia which I had read a couple of years ago. The DVD has been playing on my mind after watching it. It asks us to re-introduce consciousness into design and suggests that design is nothing more than an expression of the conscious state we are in at any given moment. Gardening for food is advocated as much more than a practical solution – it is a Spiritual practice of healing both our selves and our environment.
This is particularly pertinent as the garden for “Permaculture in Suburbia” is within the setting of a Yoga School. This weekend I was working on the Spiral Meditation Garden. I have planted the two new grafted apples from Toora Heritage Pear Farm Grafting Day – given that there has been soo much rain I was drawn to planting and transplanting in the moments when the sun did come out.
The Spiral seems to have a life of its own and I have enjoyed the experience of stepping back and allowing it to take form around me. I was looking today at the Roses which we had transplanted last winter into this site which has now become the Spiral. The move of the roses was made out of necessity – there was not enough rain and we wanted to dedicate the front garden beds to food production as they receive the most water. The roses were given strict instruction – you’ve just got to make good of what you got – they were not watered particularly much but have thrived and now make a gorgeous setting for the meditation spiral walk. What I enjoyed as I looked at them today was the sense of having not planned – but ended up with exactly what I would have wanted!
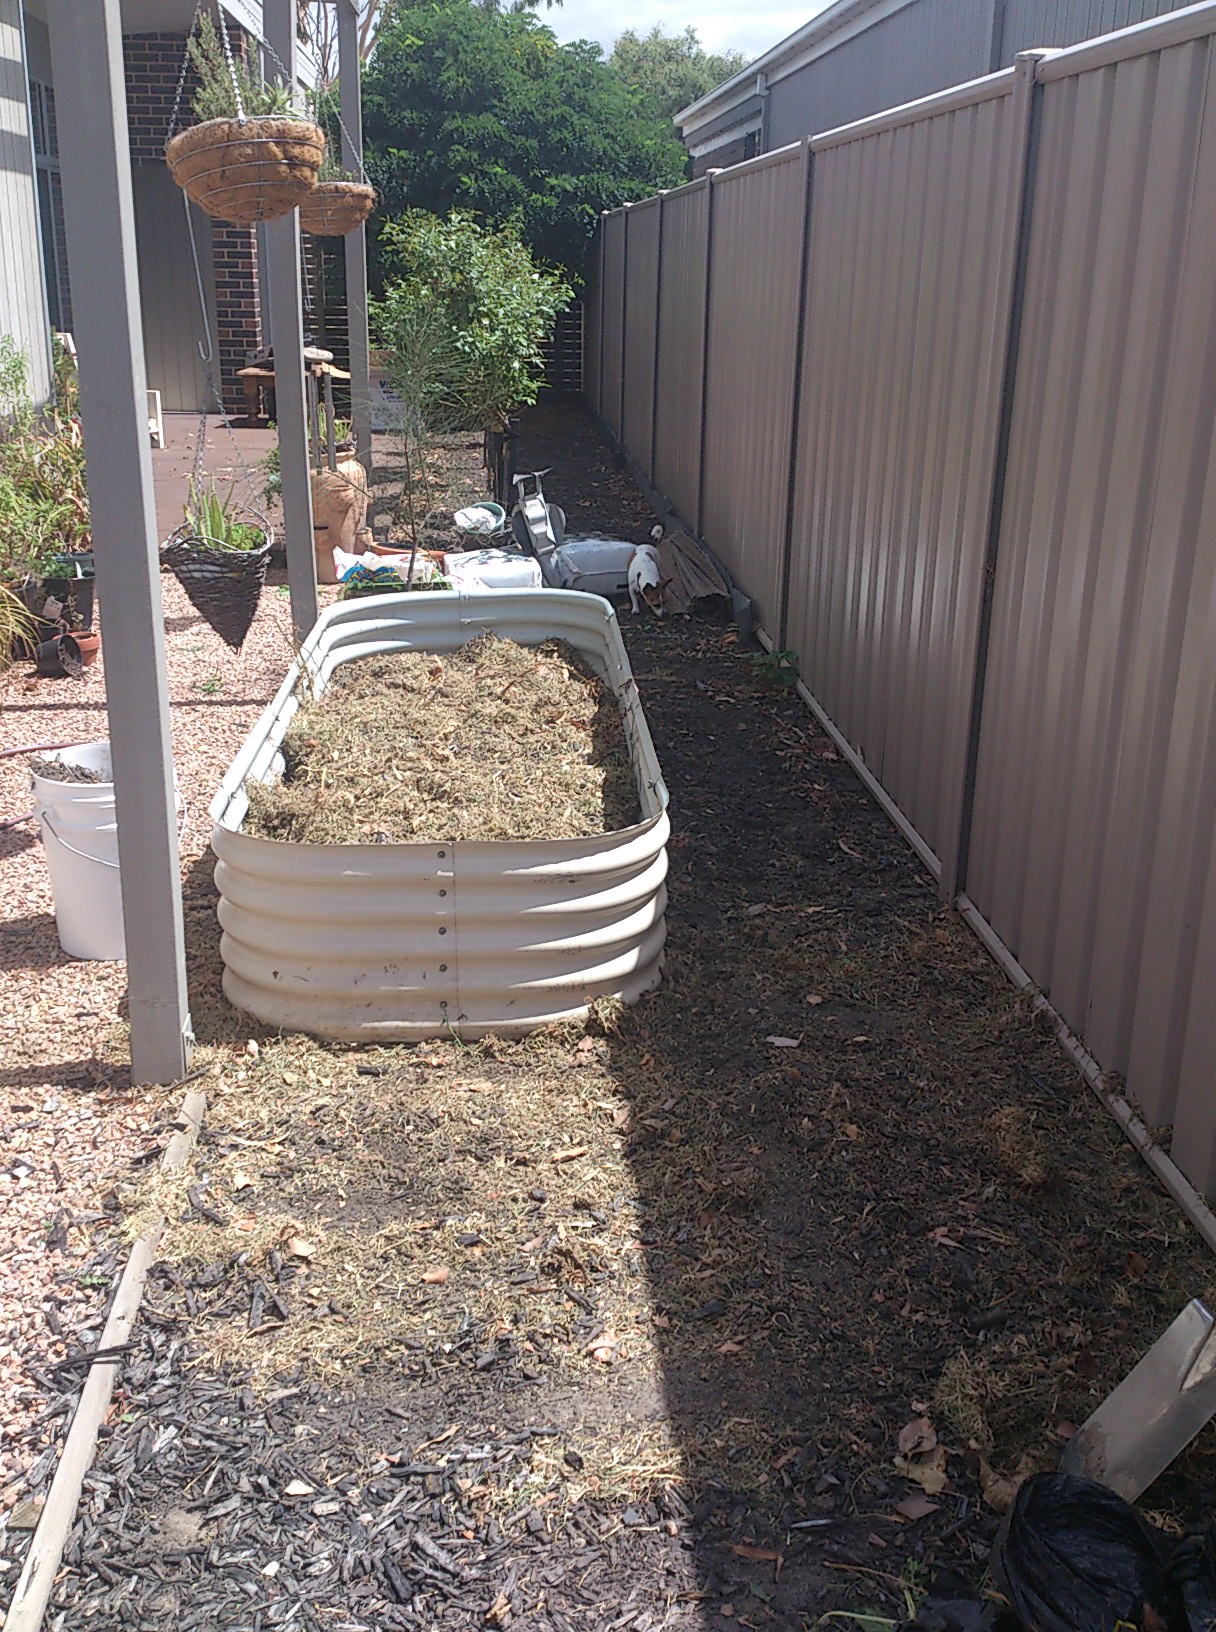
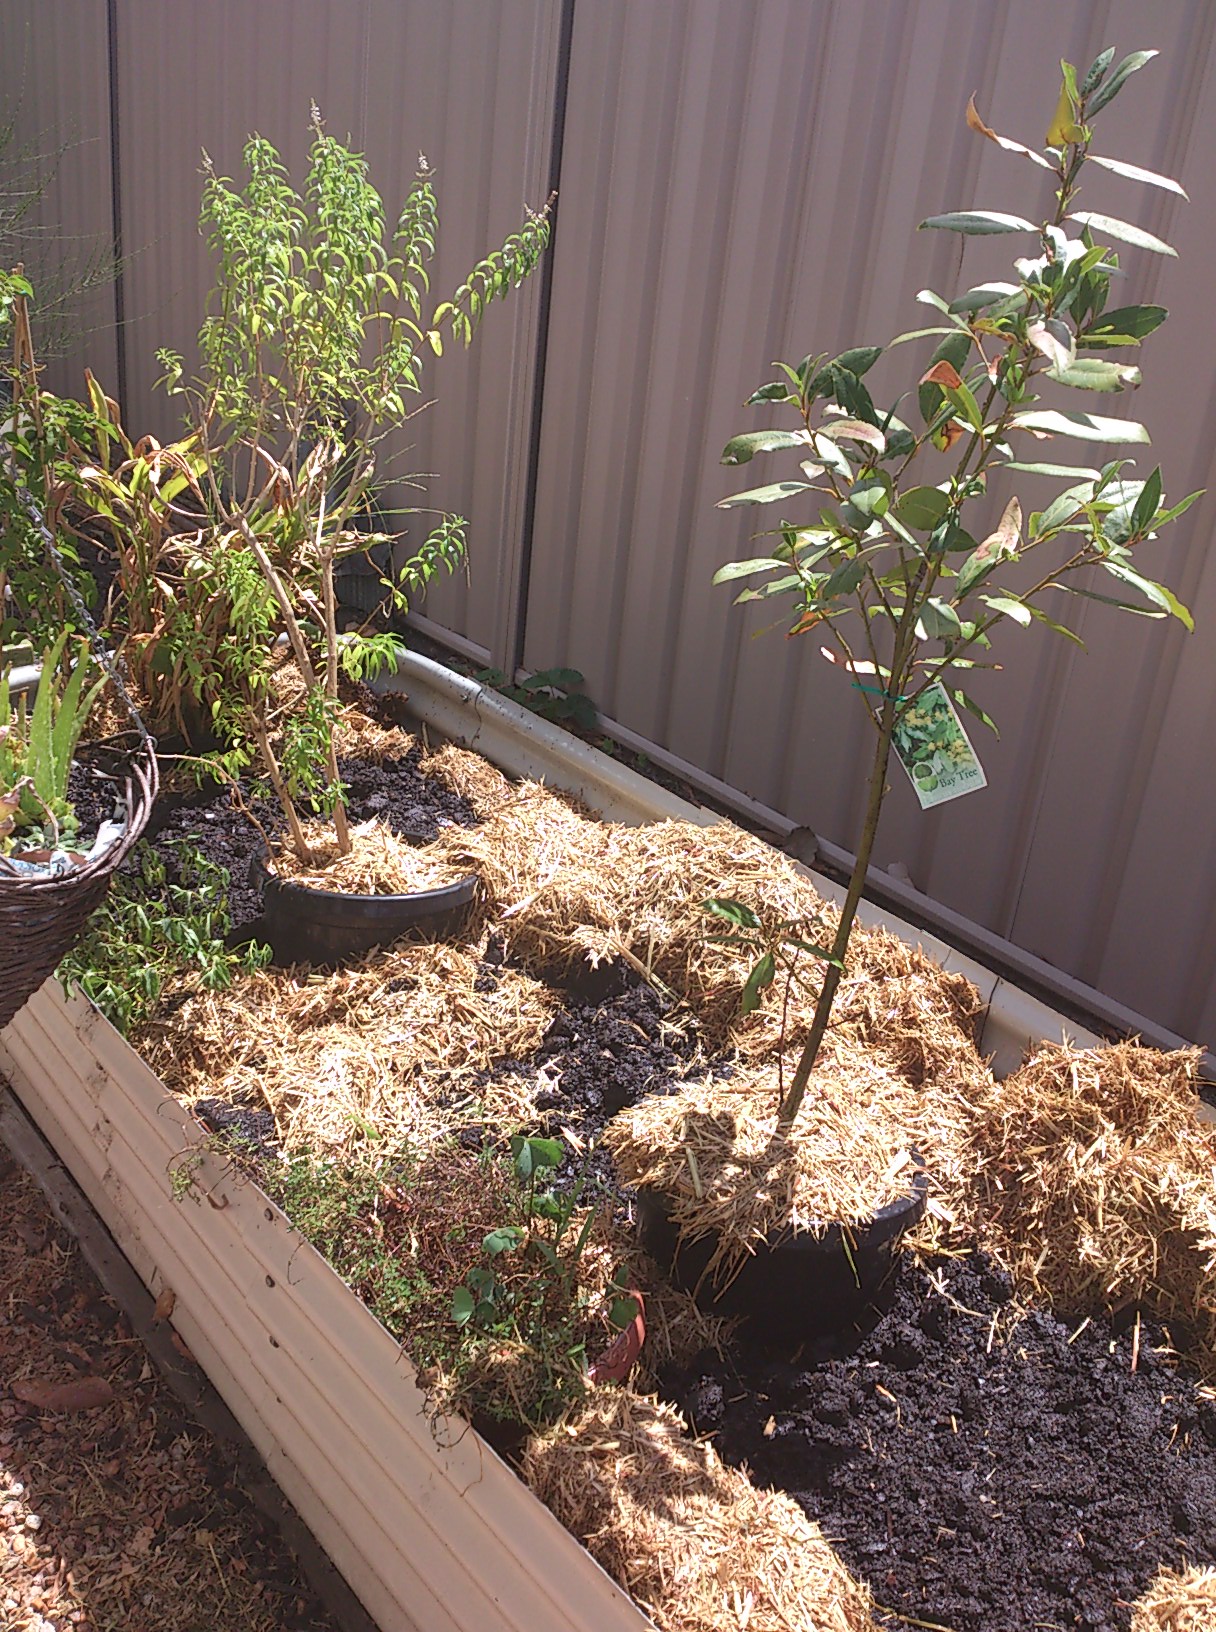
Gardening for renters can be a fruitful experience with a little planning and some open discussion with your agent. With a series of heat waves and all of my transplanted plants already showing the stress of being uprooted I was looking for an alternative to slowly dying pot plants. When I constructed this raised veggie bed I began to realise the cost of filling it with enough quality compost was going to out way the benefits of growing my own greens. So by interplanting established pot plants within the veggie bed, I have not only cut back on the amount of soil needed, but also provided some shade for my soon to arrive seedlings and provided the pots with some insulation from evaporation. It also means year round green and diversity for me to look out at while admiring my veggies. Here are the steps I took:
Step 1: Begin to collect lawn clippings.
Keep half of them in sealed garbage bags with several holes in the bottom, this will break down quickly; keep the other half unsealed to dry for more bulk. Mix both piles with animal manure to balance the PH levels. Hose this layer down thoroughly.
Step 2:
Once the grass clippings reach half way up the veggie bed place the bags of compost where you will be planting your seedings or seeds. Then place your potter plants around them keeping in mind shade lines and companion planting techniques. Hose this layer down
Step 3:
Pile sugar cane mulch or lucern around the boundaries of the soil, walling them in and insulating the edges. Then empty the compost into the holes formed. To this compost add organic fertilisers and wetting agents (coffee grinds are a great alternative to the manufactured varieties). Hose thoroughly and get planting!!!
The All Season’s Permaculture course has moved into Spring and we celebrated with a Farm Stay at David Arnold’s place Murnong, at Violet Town. Having now visited several Permaculture properties, what struck me about David’s design was its clear Zones and forward thinking. Consideration to succession planning was not obvious at first, but after spending the day walking the land with David, the complexity of his design became more evident. He had made use of Peter Andrew’s leaky wear system to create a miniature delta flood plain (while the drought is over), with nearby town run off, that runs through his property, much the same as at David Holmgren’s place at Hepburn Springs. Two elements of David Arnold’s property got me really excited – the first being the emphasis on Agroforestry and the second his approach to grass or paddock spaces as microforests also to be managed through seasonal “pulsing”. David’s consideration of tree species for optimum yield – for both fruit and timbre has developed over years of working with re-forestation projects and also through the simple method of trial and error. This is an area which has scope beyond what we could cover over the weekend and hopefully down the track an agrofrestry course may follow this PDC! At first glance of David’s design, there appeared to be a lack of layering as is seen in the common design of food forests. However, as David spoke about the spacing of his orchard species, in relation to rain fall and soil type the picture above the surface of the soil began to make more sense. This is a farm which is harvesting soil life and plant complexity in all forms. What appears to be grass is in fact a microforest of species for trapping and ultimately recycling micro-organisms and nutrients into the orchid and farm system as a whole. What is critical for this element of the system to work is timing the cutting of the grasses, allowing for enough growth to harvest the full potential of the plant life both above and below the ground. I admire David’s ability to “Accept Feedback” and relate the land as a teacher.
Well a weekend of no rain – meant getting the roses pruned and also finishing off preparations for the front key hole garden! I am determined to have produce in it by spring and the soil from the compost and piling cutting is looking great! After seeing the food forest at Southern Cross Permaculture Institute I got thinking about natural edging methods. Listening to Rick speak about the food source created by dead trees and hard cuttings I have decided to use ALL of the woody prunings that have piled up in the back garden as an edge. I am also going to use this method for the back keyhole garden also. So to make this work – I have edged the boundaries to make a ditch and cut the prunings into lengths to be stacked continuously around the circle and also around the edge of the ‘keyhole’ beside the pavers. This provides a use for a huge amount of waste – which would otherwise end up on the nature strip and will hopefully house helpful insects and healthy bacterias. I am yet to discover how well it will keep the weeds away – but if it is thickly stacked enough with plenty of small mixed in with large cuttings – hopefully it will work well. It will also work as a water catching mote when it rains! I am rather thrilled with this as I haven’t seen it anywhere else – but like all good ideas – probably it has been done before ! Most of all it just looks lovely – like a big nest in the middle of my garden waiting for life!
This brings to mind on of my favorite artists – Andy Goldsworthy and his use of ‘nesting’ spaces:
Queens Birthday weekend was spent at the Souther Cross Permaculture Institute taking the tour with Rick. It was fairly overwhelming to stand on the land – knowing that it had been flat grazing land just 16 or so years ago and that every tree planted had been done so by Rick and Naomi. The use of water as a Sun Catcher was the most impressive element that I came away with and have since been paying more attention to the reflection of water in even small things around the garden like bird baths. Photos and video to come!